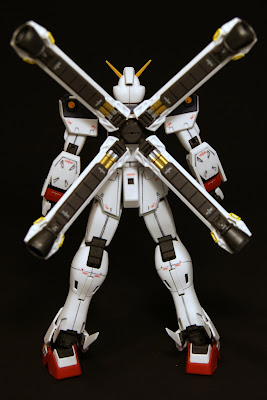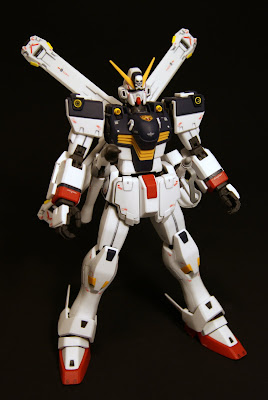
Just finally added decals to my MG Crossbone Ver. Ka kit (which I finished in February). Got it topcoated and all done for photos. Like all the Ver. Ka kits, this model has a pretty decal heavy design although compared to Unicorn (and I imagine Sinanju) this wasn't too bad. Actually since it's such a small kit, there really can't be too many decals without it looking crowded. The most annoying decals, though, were on the core fighter thrusters since there were like 10 on each of the 4 sections.
Topcoating went well, think I've gotten the hang of spraying now (I'm always a little nervous since I could potentially mess up the entire kit in a couple of seconds). I tried to dust the best I could before spraying, but there are always little things that are stuck onto the kit afterwards. Maybe they just float onto when it's drying. Either way, it's pretty annoying.
Alright, here's the 360:
 |  |
 |  |
Core fighter cockpit exposed:

Alternate thruster positions:
 |  |  |
According to the manual this would be the Beam Zamber (also shown is alternate face mode) and Buster Gun:
 |  |
Dual wielding, the combined Zambuster (what's up with these names?), and both halves holstered on the sides.
 |  |  |
Heat Daggers! And your standard beam sabers:
 |  |
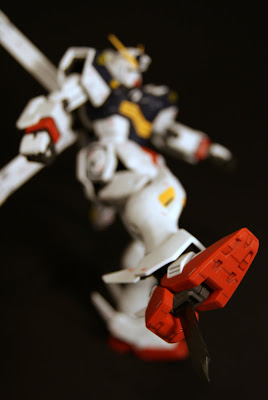
Heat Dagger kick!

Undocked Core Fighter:
 |  |
Size comparison to RX-78:

Working with the kit again made me realize how bad my panel lines were. I don't think I had the proper tools when I did them (cotton swabs mainly) or I was just bad at them. I tried to fix a couple of them, but it was too much to go back and fix all of them. Regardless, I like how this kit turned out. This was also the first kit I experimented with painting metallic features so those are a little rough as well. Overall this is one of those Master Grades that require extra painting to get all the colors right. The grey parts on the weapons have to be painted (which I messed up), the yellow bits on the shoulders and core fighter have to be painted if you don't want to use the stickers, and the red slashes on the head need to be done. All these tasks were a little more daunting to me back then (probably could tackle them better now).
But yeah, glad to have this kit all done with! Happy with how it came out. As always, the topcoat really adds a lot and gives the finished product feeling. Even with all its accessories (many of which I haven't used (the cloak)), I wish it had a shield of some sort though.
I mess up the grey parts of my weapon as well ^^ anyway, normally I'll just use the gundam marker to draw the detail line and straight away I'll use a tissue or just my finer tip to rub on the line... some corners I'll use a toothpick or stick to scratch it. This can ensure I'll get a detail panel line which is as slim as possible and looking nice and tidy :-)
ReplyDeleteYeah, before I began using cotton swabs (the hobby kind), my panel lines were always too thick and they bled from the Topcoat. I'm curious to see how my more recent kits handle decals and topcoating
ReplyDeleteLooking awesome there.. And yeah, the panel lines does look a little bit messy up close.
ReplyDeleteAnd you also got a black backround.. :3
Thanks! Yeah, I know, at least it looks good from far away!
ReplyDeleteYup, glad I got it.